Do you ever wish you could capture some truly amazing animal photographs, without spending hours and even days in the wild hoping for great opportunities? Have you tried to circumvent this long wait by trekking to your local zoo with your camera in hand, only to return home disappointed with your results? Well, if you answered yes to either of those two questions, then this post is just for you! We will be discussing 5 simple tips that can dramatically improve your animal photography skills while spending time at the zoo.
- Be Aware of the Foreground and the Background.
One of the utmost things to worry about while on your trek through your local zoo, is to not capture the animals while including their cages into the scene. Granted, if you’re doing a series on “Life in Captivity” or something similar, you will want to include some shots that show their cages and exhibits. But as a general rule of thumb, you should do your best to capture the animals without their enclosures in view. One great way to achieve this task, is to get really close to the glass or fences, and use a very wide aperture (f 4 or wider while using a telephoto lens) to blur out the glass and the fences. If you happen upon a glass enclosure, take off your lens cap and place your lens almost flush with the glass to reduce glare and dirt that might be on the glass. Another little known tip, is to wear darker clothing to also help reduce the glare through the glass that can sometimes show off brighter clothes.

- Take the Time to Learn the Animals Behaviors
Another great thing about going to the zoo, versus the wild, is that you can learn a lot about the animals you choose to photograph. This includes their behaviors and when they are most active. How is this knowledge useful? Well, think on it this way. The best way to show the animals in the most interesting light possible, is to know what they do best and when they do it. This means, get to know their schedules, including but not limited to when they like to eat, sleep and play. Always do your best to avoid capturing them during the hottest points of the day. We’ve found that most will try to find a shady spot to sleep off the heat, rendering them motionless for hours at a time. Another great thing is to learn the zoo’s feeding schedule so you can get plenty of photographs of them being active due to feeding time.

- Try Using a Wider Aperture and a Higher ISO
You might be thinking, “Higher ISO? But then my photos will be noisy!” If that’s the case, then fear not my friends! You’re missing out on some great photographs if you’re too busy worrying about whether or not your photo will contain any noise. Isn’t a noisy photograph better than a blurry and out of focused one? That is why we’re recommending you use a higher ISO along with a wider aperture. If your at the zoo photographing an animal that is moving a lot, you will not have time to change your shutter speed and other settings on the fly if you’re using Manual mode or even Aperture Priority mode. Most cameras now allow you to set a maximum ISO as well as a minimum shutter speed, so you don’t have to waste time discerning these settings on your own. Just remember, that usually for a telephoto lens of 300mm, you will need at least 1/300 for your shutter speed while hand holding your camera for shots. So next time you’re at the zoo, give it a try!However, if you’re still worried about high ISO, simply open your lens up as wide as it will go. This will help increase your shutter speed (so long as you’re in good light) and reduces the chances for shake while you’re holding your camera for the photographs of the animals. If the light is a little dim, try a combination of both so you can find a happy medium.

- Approach with Different Angles
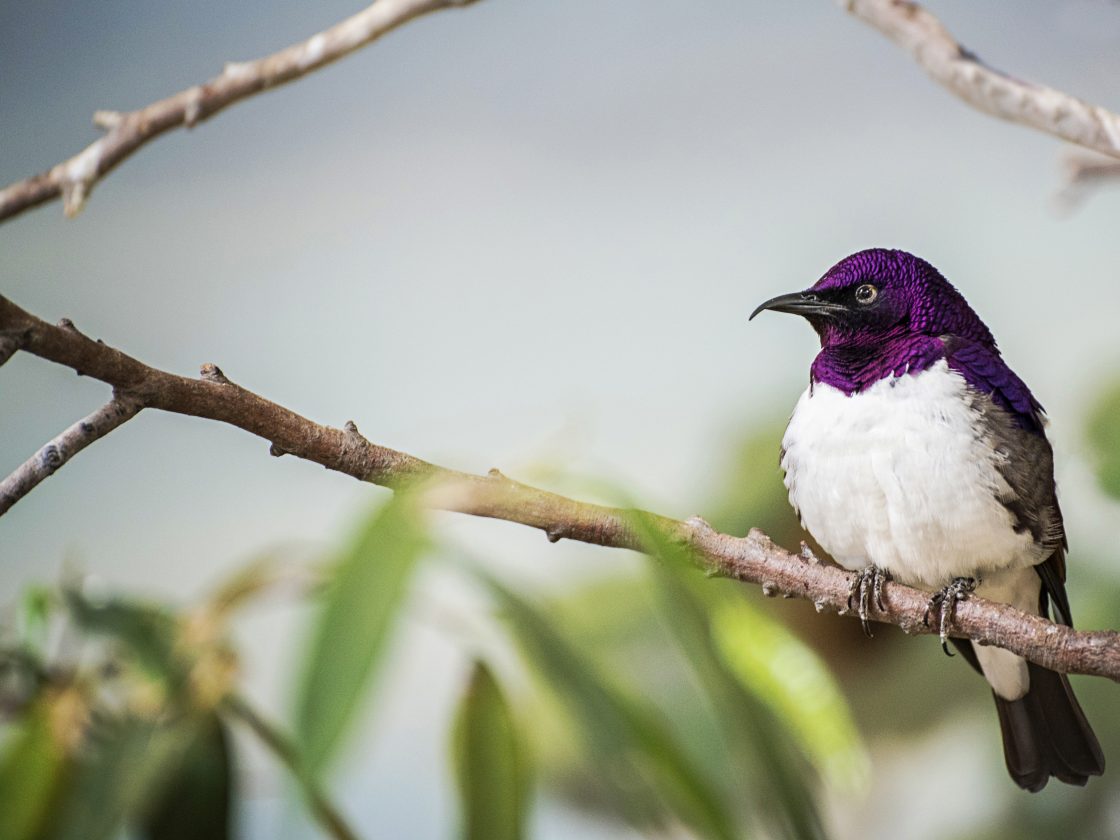
Another way to ensure that you get one of a kind photographs while at a zoo, is to attempt to take your photographs from different angles. Because you are not allowed into the pens and cages where these animals are kept, trying different angles will help to distinguish your photographs from others’ who have photographed the animals at that zoo. Try getting up and close to a rock or something similar to give your foreground some interesting depth of field. The basic concept of this point is to simply think outside of the box. Also, don’t forget to look at the plant life for interesting photos, as shown below!

- Visit Early, Often, and of course, Practice
Last but not least, always try to visit the zoo as early as you can. You can get some great shots with the early morning light, and of course, the animals should be awake and alert before the high heat of the noon sun falls upon them. (And you can avoid the high contrasting shadows that also accompany the noon sun and heat.) Always visit often and practice every opportunity you can get. The more you visit, the more you’ll learn the animals’ habits and when to photograph them in their prime.

We hope that these tips will help you in the future of zoo photography. While there is always more we could add to such lists, we feel that these are the best points to make to help you in your search for capturing the life and beauty that is held within the zoo world.
